
One of my favorite mom-tools is my laminator. I don’t use it all the time, but I love having it when I need it. Today I’m sharing 8 things I use my laminator for and I’m going to show you how easy it is to laminate for yourself!
There are a number of benefits to laminating your own projects. Here are some that come to my mind:
- make your pages last longer
- turns pages into dry erase worksheets and menu planners
- makes crafts and projects durable and long lasting
- adds a quality feel to just about everything for a cheap price
- sturdy diy planner / calendar covers
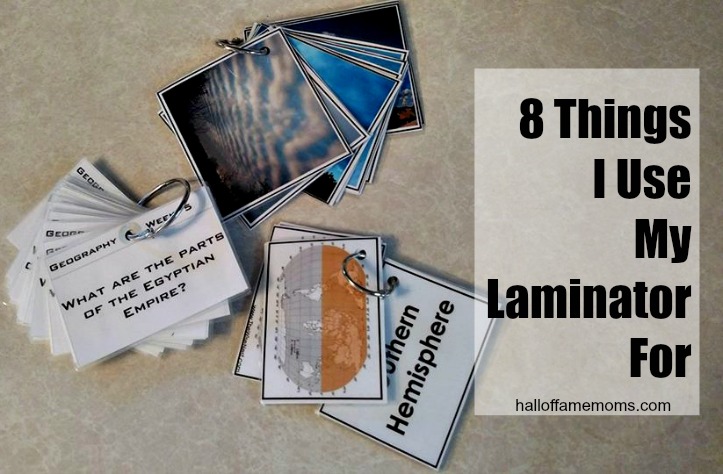
8 Things I use My Laminator For
I’ve had my laminator for years. It works wonderfully. I’ve used my laminator to make these…
- diy dry erase spiral bound workbooks
- my homeschool planner
- my boys’ homeschool planners
- Books of the Bible key chains (for kids)
- a dry erase menu page for fridge (we use to list leftovers)
- memory verse cards
- homeschool study tools
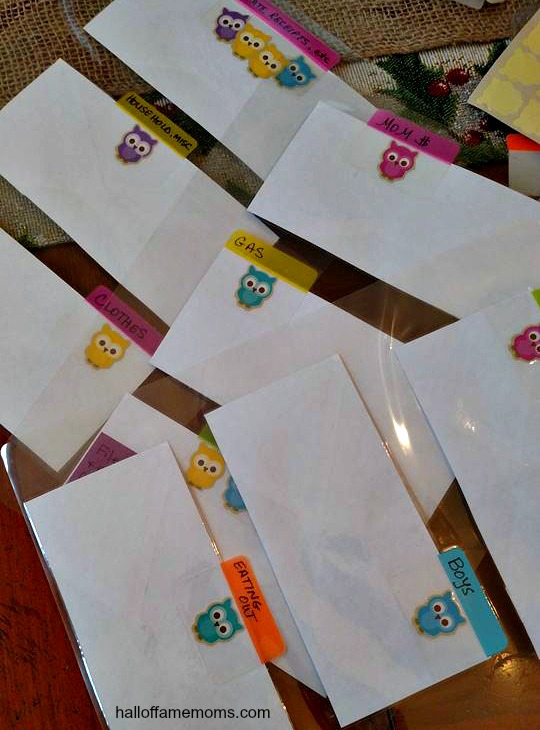
- labels for our workboxes
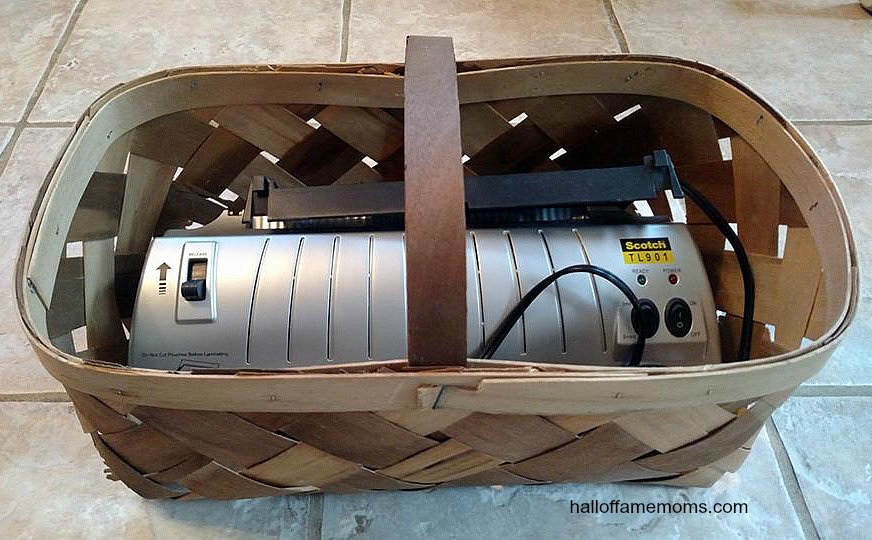
I store my laminator in this fruit basket.
Using a laminator is really easy. I store mine in a basket nearby so I can get it out immediately when inspiration hits. I’m sharing my affiliate links below. Purchases made with them help support this blog and do not cost my readers a penny. Thank you.
If you’ve never used a laminator before you may have some questions about how to use it. It really is very easy, at least my laminator is. I’ll give you a few tips below.
How to Laminate at Home
How to Laminate Paper Projects
The only laminator I’ve owned and used is the Scotch TL901 and I buy Scotch Thermal Laminator pages or pouches (which come in different sizes). I’ve owned mine for several years now.
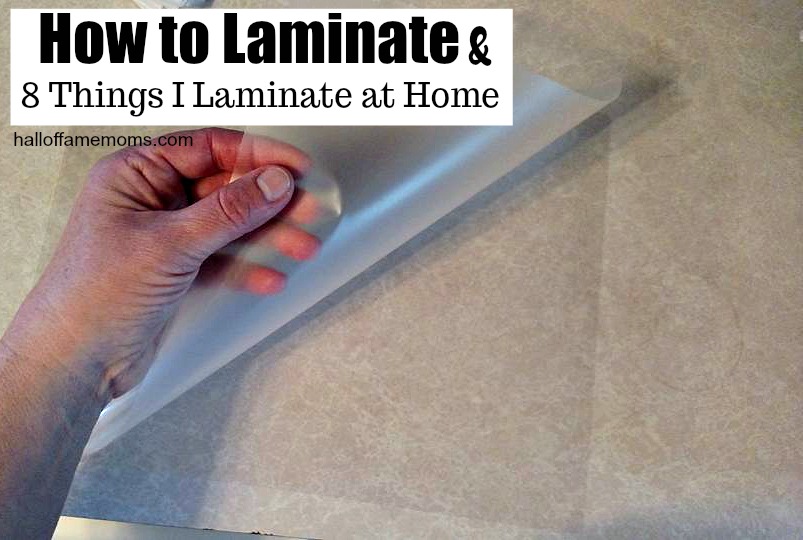
The pouches are sealed at one end and open at the other end plus open on the two sides (see picture above).
Easy Steps to Laminate
First, turn on your laminator and wait for it to light up saying it’s ready. It has to heat up first. My laminator has two settings based on the thickness of what I’m laminating.
Second, peel back the top page of the pouch and lay your items between the pages. Be sure to center it and leave some room for the edges to touch and seal as they go through the laminator.
NOTE: If you have a sheet of items that you want to laminate separately be sure to first cut those items apart. Then lay them between the top and bottom sheets of the laminating pouch leaving a little room around them so the pouch pages can touch and seal as it goes through the laminator.
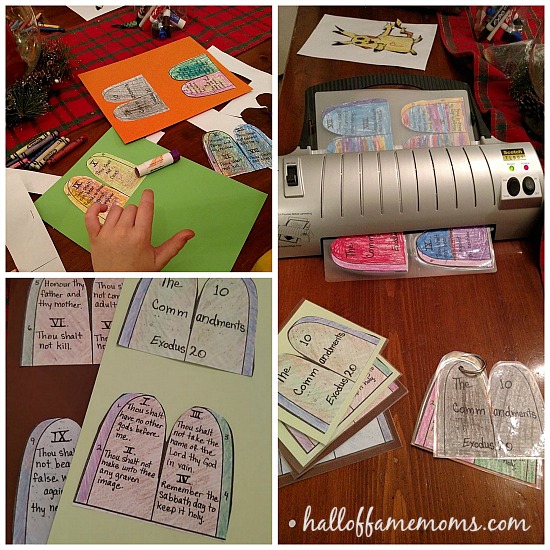
Laminating a Bible Study Project
Third, line up and center your page – sealed end first – and guide it into the tray and opening of the laminator. It only takes seconds for the page to slide out hot and sealed. It really is easy to laminate your own things!
Fourth, after everything cools you can now further trim and separate your items. Don’t cut too close, however. You don’t want to break the seal.
Having my own laminator makes it so fun and easy to create durable long lasting projects for my home, business, personal and homeschooling use.
Do you have your own laminator? What do you use it for in your home?